A print automation engine helps you automate the lay-out of your documents. Follow these 3 easy steps to design a professional template!
Step 1: The corporate ingredients for a professional template
First things first: your template needs to reinforce your corporate image.
Whether it is a catalog, a price list, an offer or a technical sheet, your document template must reflect and enhance the image of your organization.
This operation will preferably be carried out by a desktop publishing professional. She/he will produce a composition based on your logo, your fonts and your corporate colors.
You can download (free) templates on a number of sites. With step 2 in mind, our advice is to delegate both step 1 and 2 to a trusted freelancer or agency!
Step 2: Define your product information hierarchy and your lay-out type
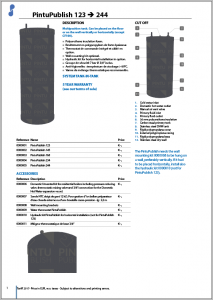
The second important step in designing your template for print automation, is to organise your product information. A catalogue for example will contain chapters for each product category. Every chapter will be divided into product pages and possibly a separate sub-section for accessories and options.
For most templates, it is important to choose between page lay-out and flow lay-out:
A “page lay-out” uses left- and right-master pages to create your publication.
A “flow lay-out” creates new pages as more content is found on the page.
Also, think about how and where you will feature price tables and technical specifications at this stage.
The easiest way to design the right template for your print automation needs, is to draft one full chapter with all appendices, table of content and index for instance. In that way, you can make sure you don’t leave out any aspect of the document design.
You can fully benefit from hiring a DTP specialist at this stage 😉
Step 3: Organise your data feed for your InDesign automation
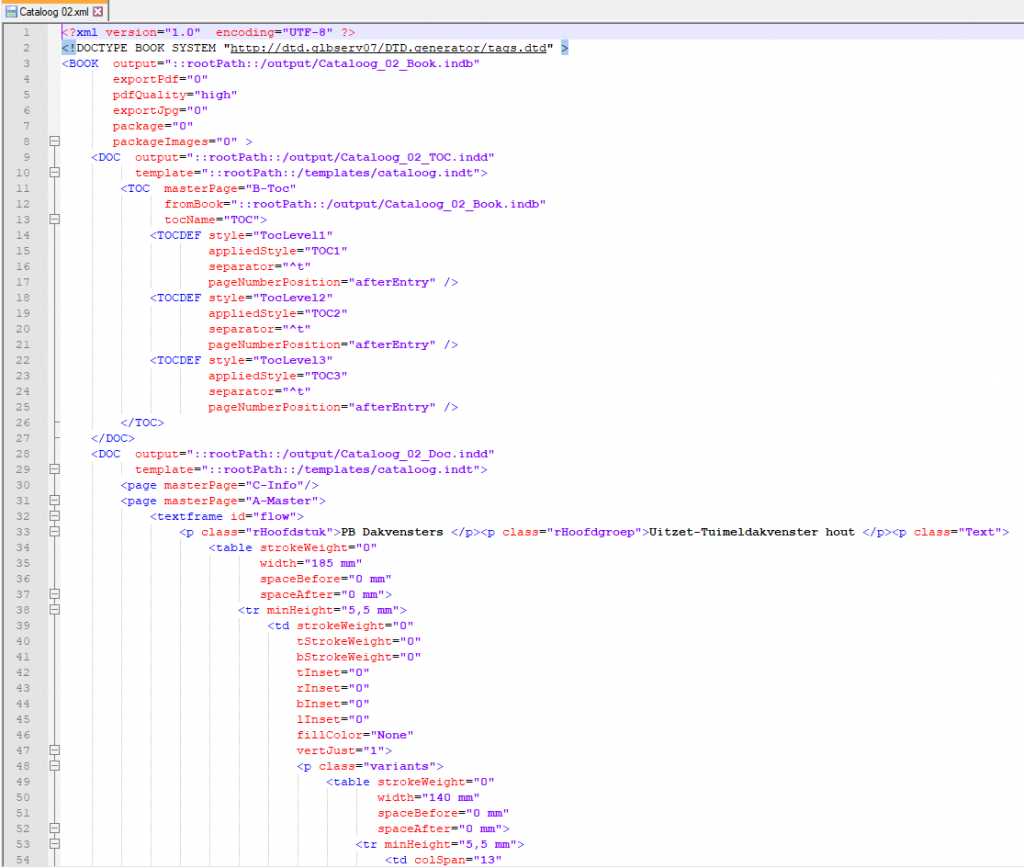
The Pintu Publish print automation engine relies on XML data feed. Once the template is ready, it’s time to design the data feed process that will automatically populate your template.
The first step is to create tagged placeholder frames in your InDesign template. These frames will receive incoming XML information (text, images, etc.).
Then you can export your product data to an XML file and apply the right tags to feed your template with the correct product information. The XML structure and tag names for incoming content have to match the tag names and structure of the placeholder frames.


Leave a Reply
You must be logged in to post a comment.